Want to Maximize Your move-out Deposit Refund with Pre Move-out Cleaning?

If you’re wondering how to ace move-out cleaning, first understand what’s at stake. Your security deposit hinges on leaving your rental clean—think floors, walls, appliances, and bathrooms. Landlords inspect for dirt, grime, and damage in high-traffic areas like kitchens or living rooms. For instance, greasy stovetops, dusty blinds, or scuffed baseboards can cost you. Plus, neglected spots—like under the fridge, behind your stove—might dock your refund fast. Meanwhile, leases often require a “broom-clean” standard but going beyond that can seal the deal.
Here’s the great news! Pre move-out cleaning isn’t rocket science, and you can handle it yourself. In fact, most deductions stem from simple oversight—human slip-ups—not structural issues. Thus, a solid cleaning plan is your ticket to maximizing your deposit refund without hiring a pro!
Per your lease, cleaning is likely your responsibility, so check it twice! For example, skipping grime on windows or leaving oven grease could hit your wallet. If you don’t tackle pre move-out cleaning, you’re at risk. Because landlords can charge steep fees—sometimes $500 or more—during that final walkthrough. Take charge—don’t gamble your cash!
Pre Move-Out Cleaning Checklist – Lock In That Deposit Refund!
- Kitchen Counters & Cabinets: Spray with all-purpose cleaner, wipe thoroughly, and dry—no crumbs or streaks!
- Stove (Behind, Top, Inside): Pull it out, clean grease and spills behind, scrub the top and inside, and dry it spotless.
- Fridge (Behind, Inside, Gaskets): Pull it out, wipe dust and grime behind, clean shelves/drawers inside, check and wipe seals.
- Walls (Grease & Marks): Wipe kitchen grease splatters with cleaner, use Magic Eraser on white wall scuffs.
- Bathroom Sinks & Tubs: Spray cleaner, scrub water marks and scum, rinse, and dry—sparkle matters!
- Floors & Baseboards: Vacuum/sweep floors, wipe baseboards along edges—no dust bunnies allowed!
- Doors (Fingerprints): Wipe handles and panels with cleaner, hit smudges with Magic Eraser.
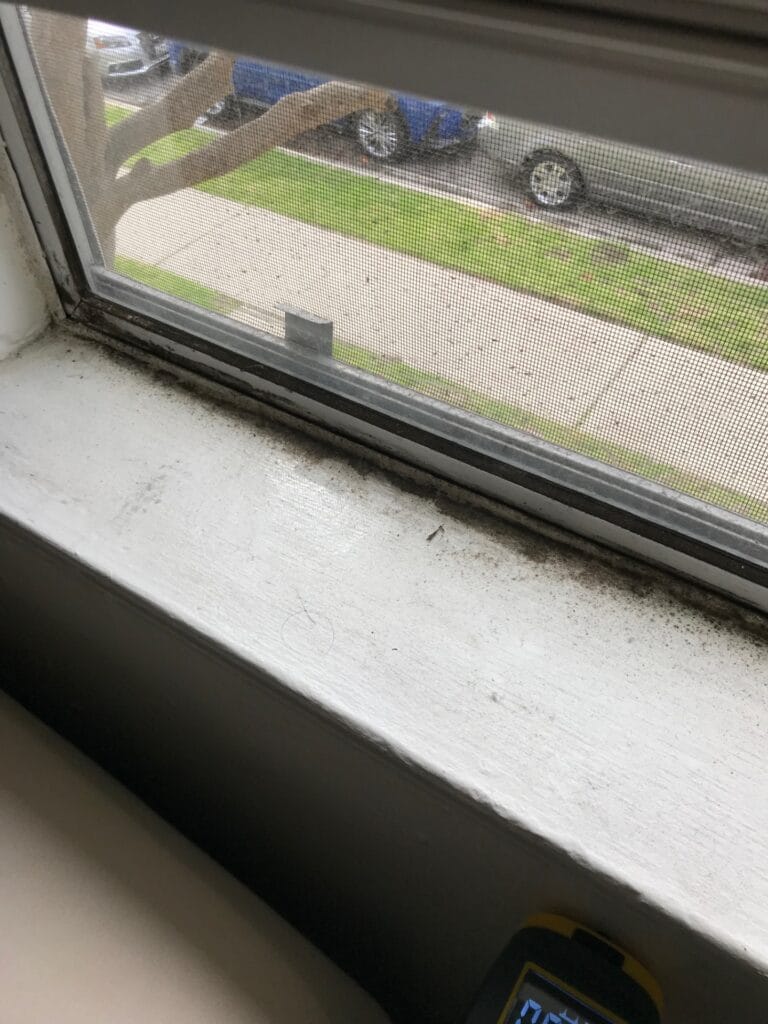
- Windowsills: Dust and wipe for a clean edge—landlords peek here.
- Light Fixtures & Switches: Dust fixtures, erase switch fingerprints with Magic Eraser.
- Blinds: Dust or wipe slats—grimy blinds are a refund killer.
- Final Dry-Down: Towel-dry all surfaces—no wet spots left behind!
Recommended Supplies – Pre Move-out Cleaning
- Mr. Clean Magic Eraser – For scuffs and tough spots
- All-Purpose Cleaner (Method)
- Microfiber Cloths – Lint-free wiping
- Oven Cleaner (Easy-Off)
- Extendable Duster
(Links posted are affiliate sponsored Links and purchases directly support our operation. We stand behind the products we recommend)
Part 1: Pre Move-Out Cleaning – Gear Up
To maximize your deposit refund with pre move-out cleaning, first assess the mess. If damage—like holes in walls—exceeds normal wear, notify your landlord, if they are minor check out this guide. Next, spot the dirt—grime builds fast in kitchens and bathrooms. For instance, check for grease on stovetops, build up under the range hood or dust on blinds. These are refund killers! Ready to tackle pre move-out cleaning like a champ?
First, gear up smart with microfiber cloths—they trap dust like magic. Then, grab gloves if you’re hitting ovens or bathrooms—grease and grime get nasty. Next, open windows wide for airflow. Or crank a fan to keep dust from settling back. For example, stuffy rooms make cleaning harder. Plus, snap before photos of dirty spots. After cleaning, take pics again to prove your effort. So, you’re set to dominate this pre move-out cleaning game. Let’s lock in that refund!

Part 2: Tackle Key Areas for Pre Move-Out Cleaning
Ready to nail this pre move-out cleaning? Let’s hit the hotspots! First, grab an all-purpose cleaner like Method—it’s a no-drama pick for wiping down surfaces. For kitchens, spray counters and cabinets 6-8 inches away until wet. Or dampen a microfiber cloth and wipe thoroughly—get every crumb! Then, set a timer for 5 minutes to let it sit. You’re on track to maximize your deposit refund!
Now, blast bathrooms and floors with cleaning power—and don’t skimp on the details! Spray cleaner on sinks, tiles, and tubs—same 6-8 inch rule. Or wipe with a damp cloth for full coverage. Next, vacuum or sweep floors, paying particular attention along baseboards—no dust bunnies or grime streaks allowed! Wipe those baseboards down with a damp microfiber cloth too; landlords love to ding you for dirty edges. For stubborn spots like oven grease, hit it with Easy-Off, scrub with a brush, and let it sit 5-10 minutes. You’re crushing it!
Let’s go deeper in the kitchen—time to move some appliances! Carefully pull out the stove (watch the floor for scratches) and face the chaos behind it. Crumbs, grease splatters, and mystery spills? Spray it with Method, wipe it clean, and sweep up the debris.
Then, tackle the fridge—pull it out too. Clean behind it—dust and sticky spots love to hide there. While you’re at it, check the fridge and freezer seals (those rubber gaskets). Wipe them with a soapy cloth to remove grime; cracked or moldy seals might need landlord attention, so snap a pic. Inside the fridge? Empty it out, spray shelves and drawers with cleaner, and wipe every corner—sticky juice rings are a refund thief!
Don’t stop there—hit the walls! Kitchen grease can splatter, leaving oily smudges. Wipe them down with a damp cloth and a dab of cleaner—elbow grease pays off. In the bathroom and kitchen, scour those sinks for water marks and soap scum. Spray with Method, let it sit, then scrub with a sponge—sparkle wins points! While you’re at it, dust ceiling fan blades with an extendable duster—landlords peek up high. And check light switches—grubby fingerprints? Magic Eraser them clean. Every detail counts when you’re chasing that deposit!

Part 3: Polish, Wipe, and Secure That Refund
Next, finish strong—you’re in the home stretch! Wet a clean microfiber cloth with water and wipe down surfaces to remove cleaner residue—counters, sinks, and cabinets deserve a fresh slate. If you’re near a sink, a quick splash works to rinse off stubborn spots—just don’t drench anything; soggy walls scream “amateur.” Now, grab a dry towel and pat everything down—damp spots look sloppy and landlords notice wet streaks like hawks. This step’s clutch to lock in that deposit refund!
Time to polish those details—start with the walls! White walls are magnet for scuffs, smudges, and mystery marks, especially near doorways or furniture spots. Grab a Mr. Clean Magic Eraser, dampen it slightly, and gently scrub those blemishes away—watch them vanish like magic! Don’t overdo it; too much pressure can strip paint, so test a small spot first. Clean walls scream “well-kept rental,” and that’s refund gold.
Next, hit the doors—fingerprints and grime love to camp out there! Check around handles, edges, and lower panels where hands (or feet) leave their mark. Wipe them down with a damp microfiber cloth and a spritz of all-purpose cleaner. Stubborn smudges? Magic Eraser to the rescue again—just a light touch does it. Don’t skip closet doors or pantry ones; landlords peek everywhere!
Keep the momentum going—check windowsills for dust or smudges and wipe them with a dry cloth. Run a quick pass over light fixtures too; cobwebs or dust bunnies up there are a dead giveaway of neglect. If you’ve got blinds, give them a once-over with a duster or damp cloth—grimy slats can tank your “spotless” vibe. Finally, step back and scan the place like a landlord would. No streaks, no marks, no excuses—you’re sealing that deposit refund tight!

Final Thoughts – Pre Move-Out Cleaning
Our pre move-out cleaning guide hands renters the keys to a full deposit refund. We showed how to maximize your deposit refund using tools like Method cleaner and Magic Erasers with clear steps. For instance, wiping cabinets or vacuuming floors works fast. Plus, we stressed prep—gloves and photos keep you covered. So, renters can tackle cleaning confidently and skip landlord delays. This guide proves you don’t need a pro to win. It’s a victory for your space and bank account!
Related:
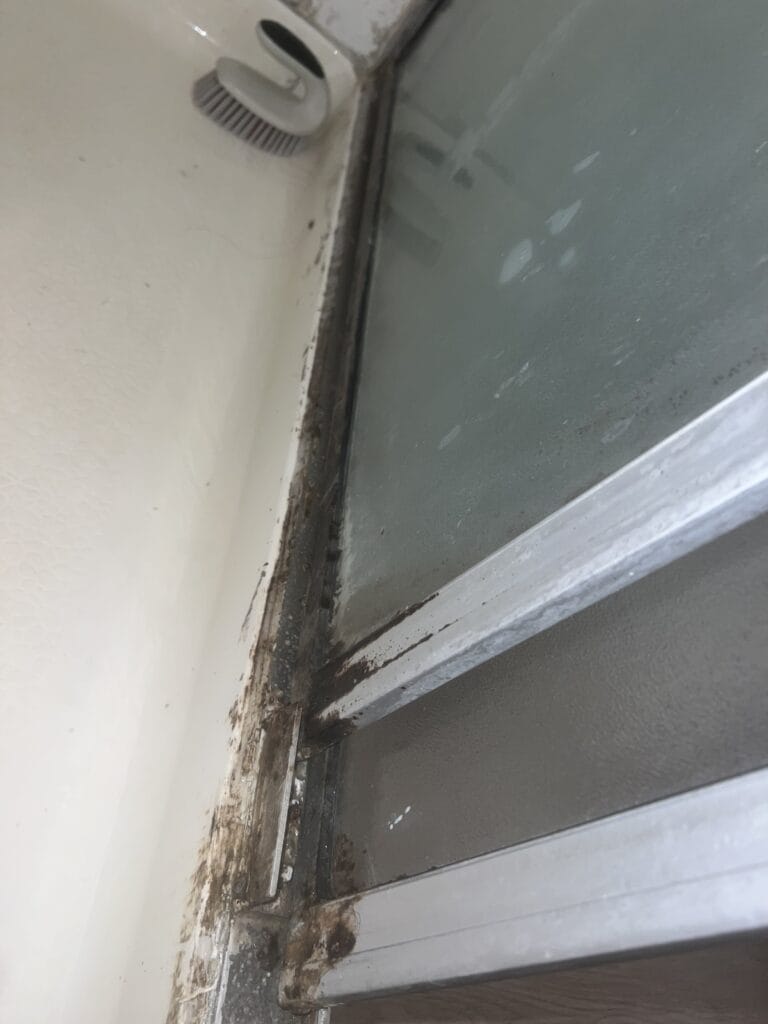
How to Clean Mold – Get rid of mold in 3 steps – Free
How to change a shower head in three easy steps
Move-Out Cleaning – Boomtips
- Scrub Every Corner: Hit high-traffic spots like kitchen counters and bathroom tiles with an all-purpose cleaner—leave no grime behind for the landlord’s eagle eyes!
- Appliance Deep Dive: Pull out the stove and fridge, sweep and wipe behind them—dust and grease back there are refund killers.
- Wall Wipe-Down: Check walls for scuffs or grease, zap them with a Magic Eraser or damp cloth—clean walls scream “responsible tenant.”
- Floor Blitz: Vacuum or sweep floors, mop hard surfaces, and don’t skip baseboards—dust bunnies along edges are a landlord’s pet peeve.

How To change a light bulb in 3 easy steps | Free Guide – RepairBoom
How to unclog a drain in 4 easy steps | Free Guide – RepairBoom
How to unclog a drain in 4 easy steps | Free Guide RepairBoom