How to Patch Wall Holes in Your Rental

Introduction – How To Patch Holes In Your Wall
Spotted a hole in your wall? Don’t worry yet! Mastering how to patch a hole in the wall is easier than it seems. For instance, dents from furniture or old nails are a fast fix. Plus, landlords hit you with fees for this at move-out. So, why lose your deposit over it? In fact, learning how to patch wall holes fixes those eyesores quick. With RepairBoom’s three-step guide, you’ll smooth them out fast. Then, enjoy pristine walls again. Because renters shouldn’t pay for small fixes! Ready to take charge now? Let’s patch up and save together!
Tools You need to patch wall holes
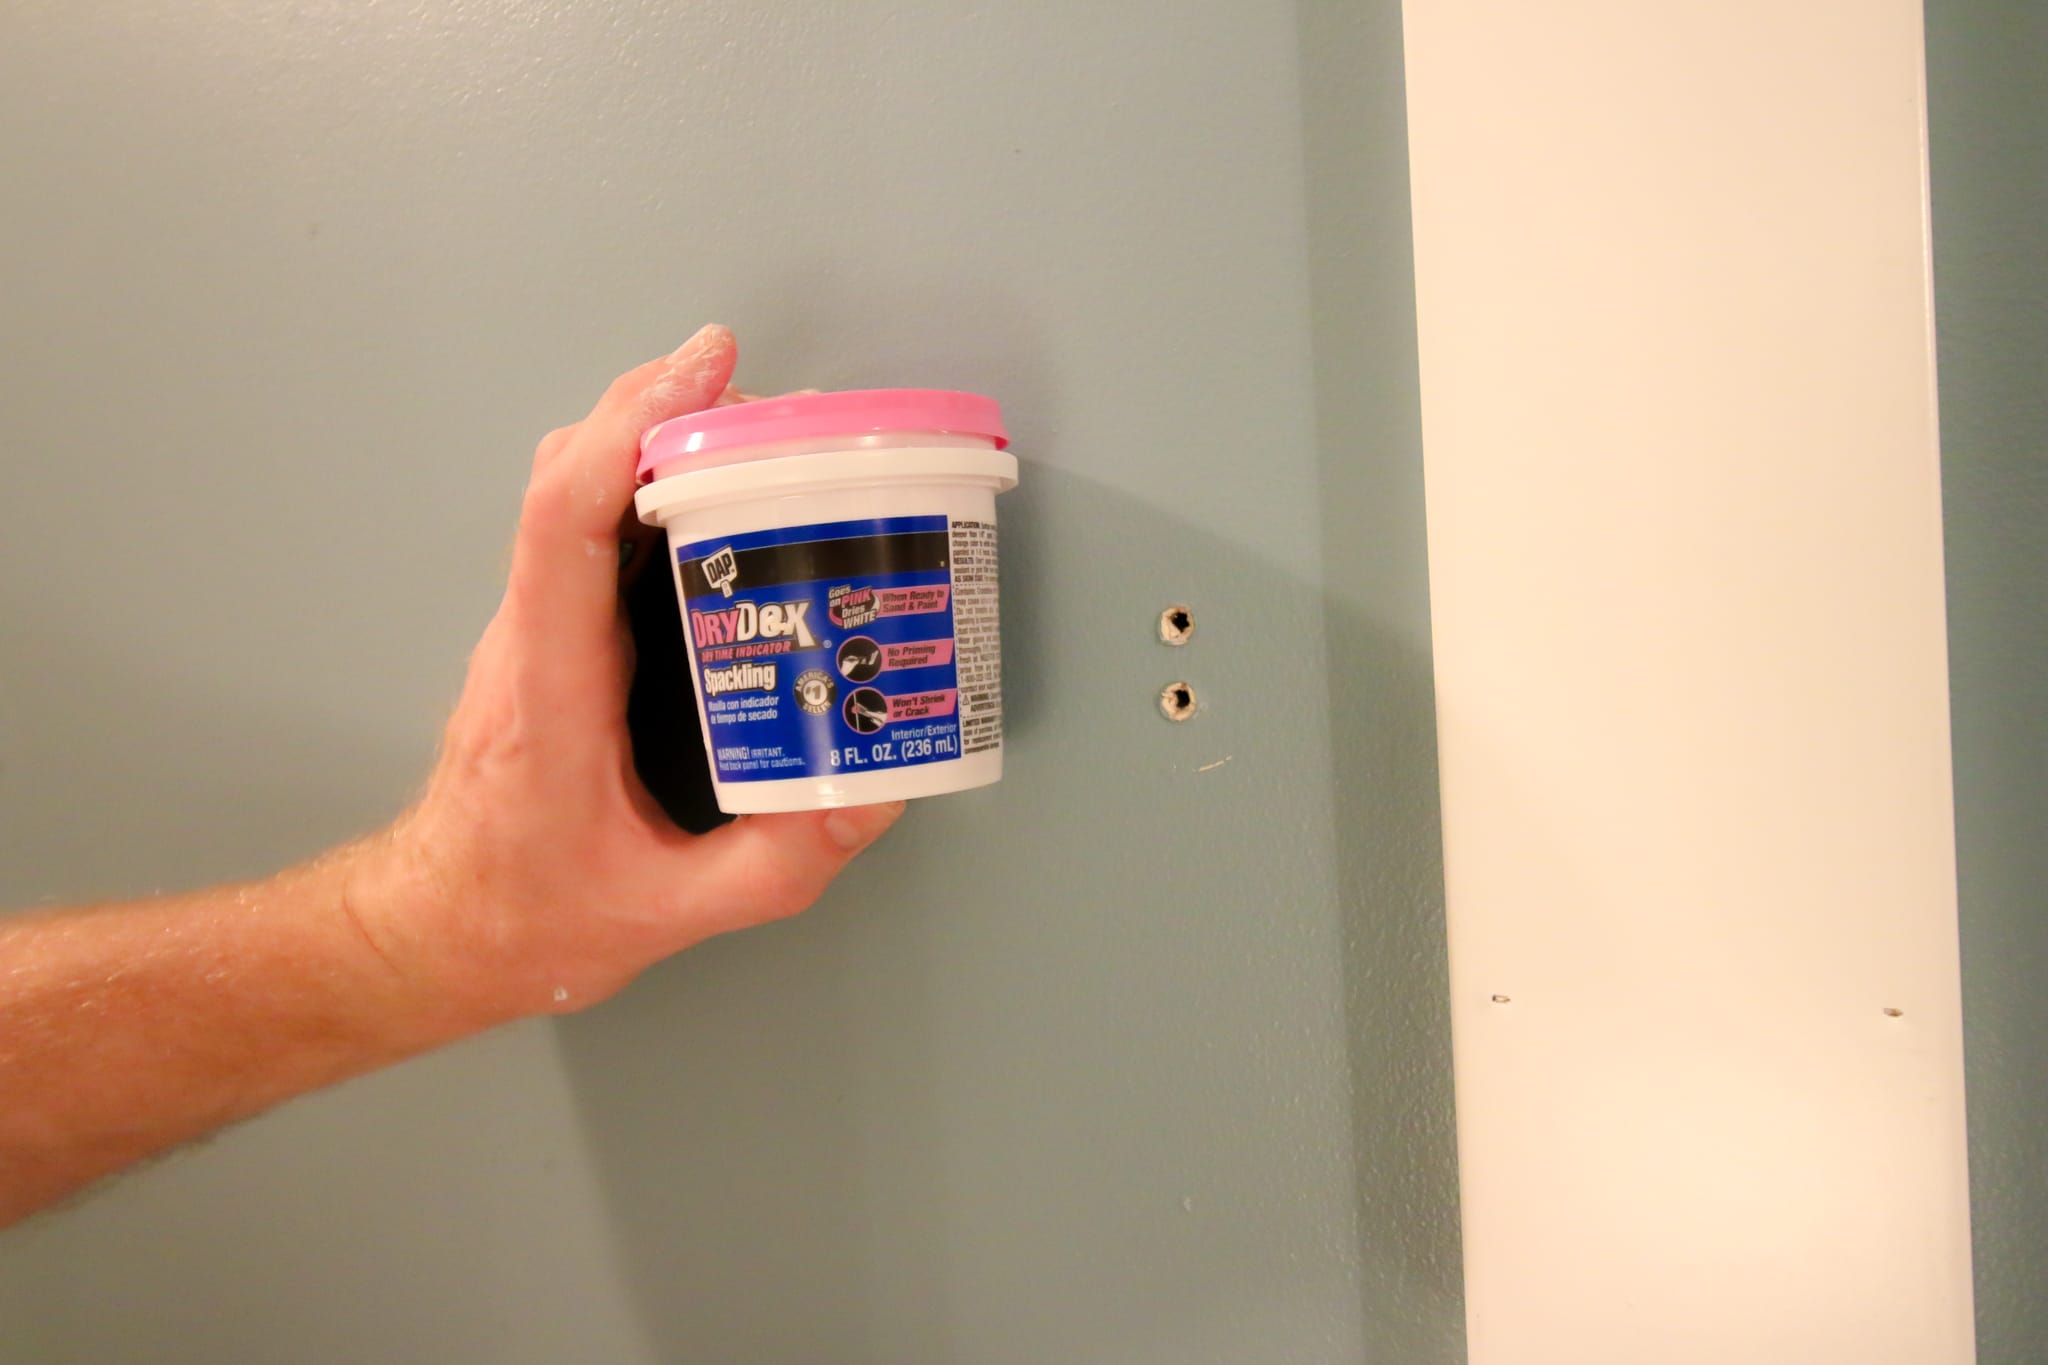
- Spackle – For Filling The Holes
- Putty Knife – For Applying The Spackle
- White Caulking – For Filling Small Nail Holes (No Paint)
- Wall Anchors – Adhesive Wall Anchors(No Damage)
- Sandpaper – For Smooth Finish
(Links posted are affiliate sponsored Links and purchases directly support our operation. We stand behind the products we recommend)
Step 1: Spot and Prep the Damage
Ready to fix those wall holes? Start where pictures once hung! First, check spots with old nail holes or picture hooks. See small dents or rusty nail marks? Mark them with a pencil quick. Then, grab a damp cloth—wipe off dust and grime well. For instance, dirt around a hole in the wall ruins your patch. Next, measure each hole’s depth. Is it under an inch? Ideal for what we are about to do! Now, collect your tools—spackle, putty knife, sandpaper, goggles and silicone. So, you’re prepped to ace the patch safely – Get ready to learn how to patch wall holes!
BoomTip: Quick Nail Hole Fix: Fill small nail holes with white silicone—smooth it fast to patch wall holes like a pro!

Step 2: Fill and Smooth the Holes
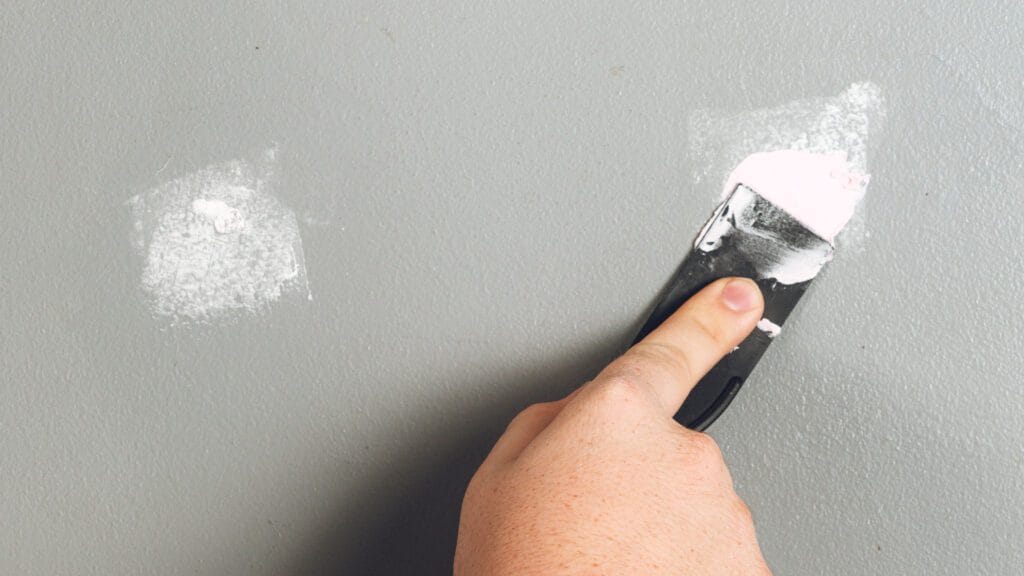
Now, let’s master how to patch wall holes with ease! For tiny holes, start simple—grab silicone. Squirt a pea-sized dot with your finger. Then, smooth it over the hole gently. Done in a flash—nice! But for bigger holes & dents, use filler instead. First, scoop spackle onto your putty knife— A small blobs enough. Press it into the hole firm and even with good downward pressure spread it past the edges until it’s smooth. For example, cover the dent plus a bit around it.
Next, scrape off excess spackle flat in one direction to avoid pulling the spackle out. Avoid lumps—keep it clean! After, let it dry—check the label time on your particular spackle. Usually, an hour works well. Then, sand with fine paper lightly. Feel it level with the wall? Awesome! If not, add more spackle—retry.

Step 3: Finish and Prevent Future Holes
Ready to wrap up your perfect patch? First, wipe sanding dust off with a cloth. Then, grab matching paint. Apply it lightly with a small brush. Blend the edges for a seamless look. Does it match your wall? Great job, you’re done! If it looks uneven, add another coat to your wall patch. Next, step back and inspect your work. Still spotty? Touch up one more time. Now, let’s keep walls hole-free. For instance, use adhesive anchors for hangings. Skip nail anchors—they damage drywall. Also, move furniture carefully. Avoid banging into walls hard. By staying cautious, you dodge landlord fees. Boom, your walls look Hoflawless!

How to patch wall holes – BoomTips
- Safety First: Wear goggles and a mask before patching walls. So, if dust flies, you’re safe. Keep your footing steady on the stool too!
- Stock Up: Keep spackle and sandpaper handy. Then, when holes appear, you’re ready to fix fast, bookmark this guide so you’ll always know how to patch wall holes!
- Know Your Lease: Check your rental agreement now. For instance, if wall repairs fall on the landlord, push ‘em hard. Save cash!
- Quick Check: Inspect walls monthly for dings. Plus, spot cracks early. Catch how to patch wall holes before fees hit!
Check out our other Free home repair guides
- How To change a light bulb in 3 easy steps | Free Guide
- How To Unclog a Toilet in 3 easy steps | Free Guide
- How to unclog a drain in 4 easy steps | Free Guide
- How to Clean Mold – Get rid of mold in 3 steps | Free Guide


